How to Run Modules Locally
Whether you have finished building your module and are ready to test it out or you simply want to run one of the preexisting modules locally, we got you covered with this tutorial.
Step 1. Pull the Latest Dev Container
Assuming you already have Docker installed on your local system, this developer image has everything you need to install BisQue locally. Since this image is updated weekly, file an issue on GitHub and we will look at it within a day.
docker pull amilworks/bisque-module-dev:gitStep 2. Run the Dev Container
Running the command below will launch BisQue on http://localhost:8080/, name the container bq-module-dev, and -v /var/run/docker.sock:/var/run/docker.sock will enable access to your local docker containers within the BisQue dev container. This is crucial because modules are ran as containers themselves so if you cannot run a container within a container, you will get a big red module error at runtime.
docker run -idp 8080:8080 -p 27000:27000 --name bq-module-dev
    -v /var/run/docker.sock:/var/run/docker.sock
    --ipc=host --net=host amilworks/bisque-module-dev:git
If you run into any port allocation issues, double check to see if there are any running containers
docker psYou can stop any running containers that are using port 8080 or 27000 with
docker stop CONTAINER ID or NAMEIf you run into any issues with dangling containers, you can safely remove them by running
docker container pruneStep 3. Register Modules
Navigate to http://localhost:8080/ on your favorite web browser and BisQue should be up and running. If BisQue is not, check the logs and report any issues on GitHub. Login using the credentials
Username: admin
Password: admin
You should now be logged in as admin. In the top right hand corner, go to Administrator --> Module Manager. In the right pane, Engine Modules, fill in the Engine URL with
http://localhost:8080/engine_serviceHit Load and all the modules should pop up, and hopefully your module if you are building one. Navigate to your module or any module using the Analysis tab on the menu bar and you should see the respective module’s landing page. For instance, if I go to CellECT 2.0, I should see the following page.
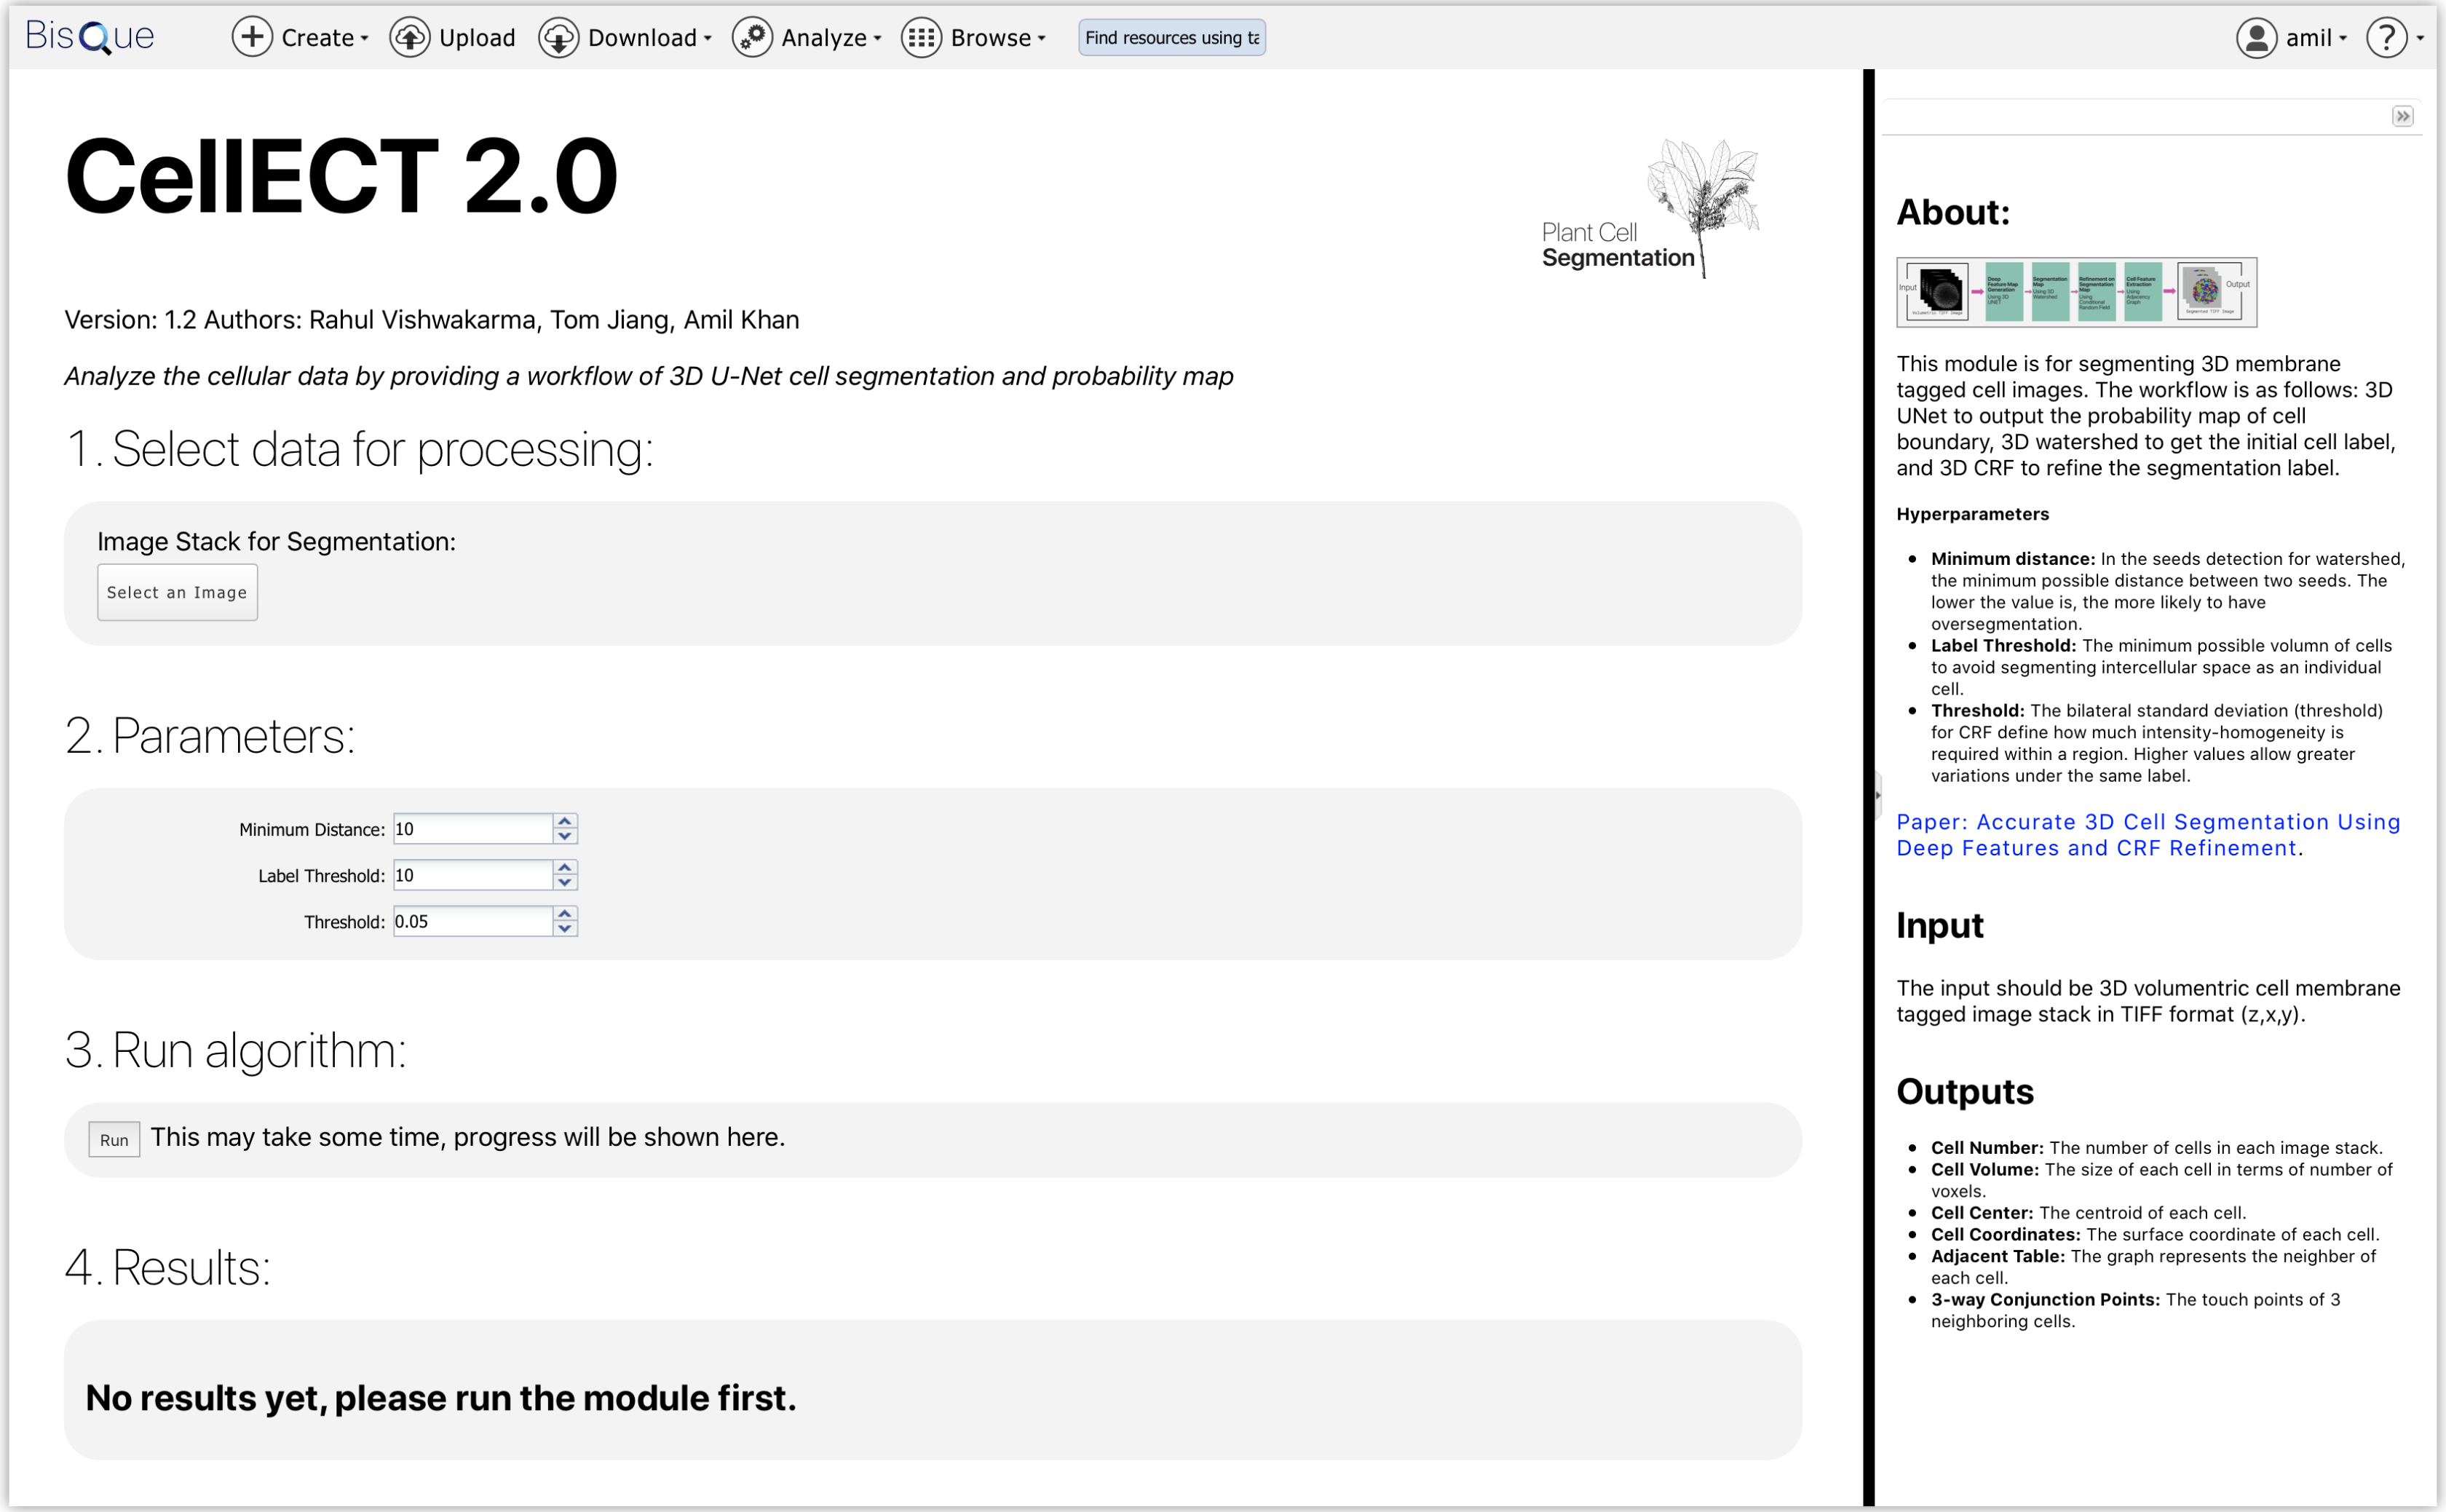
CellECT 2.0 Module Homepage. Here is the landing page for the GPU-enabled CellECT 2.0 module.
Step 4. Run the Module
Upload a sample image or table to the module of your choice, modify any necessary hyperparameters, and then hit Run. Your module should start initializing and providing updates on what its doing.
What’s Happening on the Backend?
On the backend, the module will first check to see if the image is up-to-date. If not, it will pull the latest. Next, it will Initialize the module by running the PythonScriptWrapper and jump right into running your module. If there are any errors, the logs will be stored in the staging folder. You can access this by ssh-ing into the container and directly accessing that directory.
> docker exec -it bq-module-dev bash
> cd staging
> ls -ltr   # Get the latest run
> cd [MEX ID]
> cat PythonScript.log