1.2 How to Upload Data
Upload over 200+ Supported File Formats.
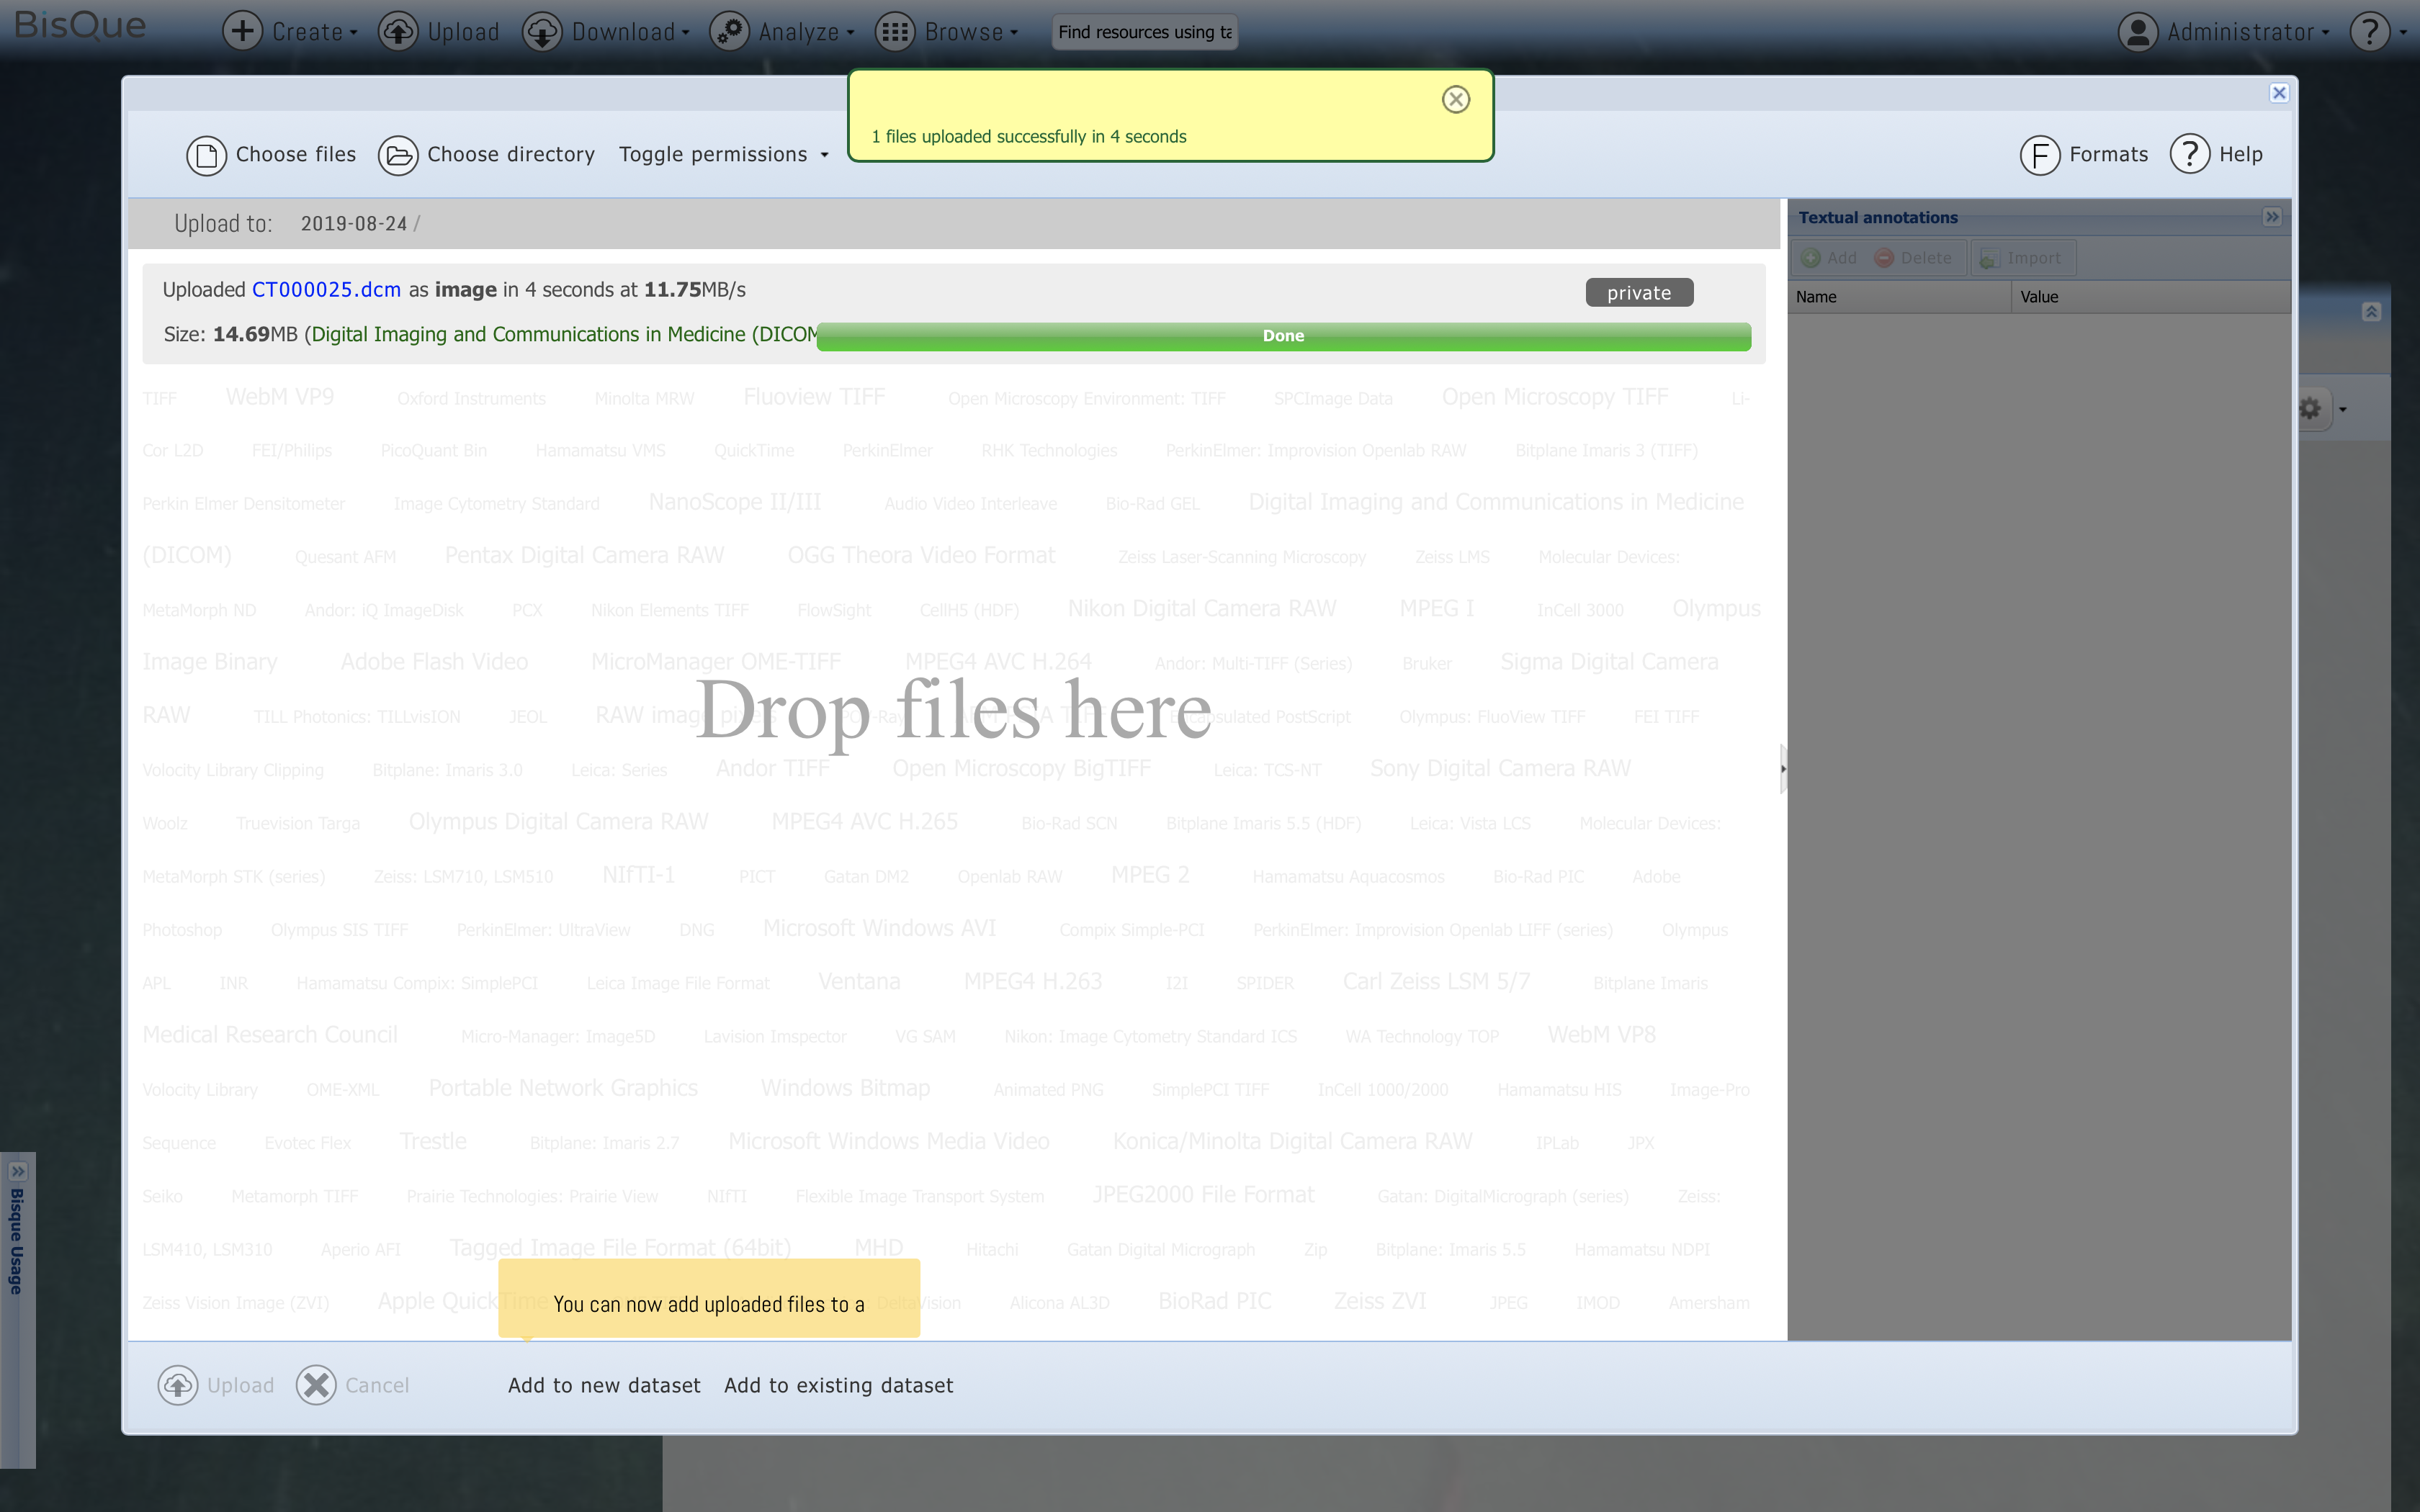
Step 1. Login
Make sure you are logged in. If you are logged in, the MENU bar will include Upload.
Step 2. Upload File or Folder
Click Upload from the toolbar. There will be two options: Choose File or Choose Directory.
Step 3. Build a Dataset
Selecting Choose Directory will upload all files in that directory. For example, we selected a folder with three NIFTI files.
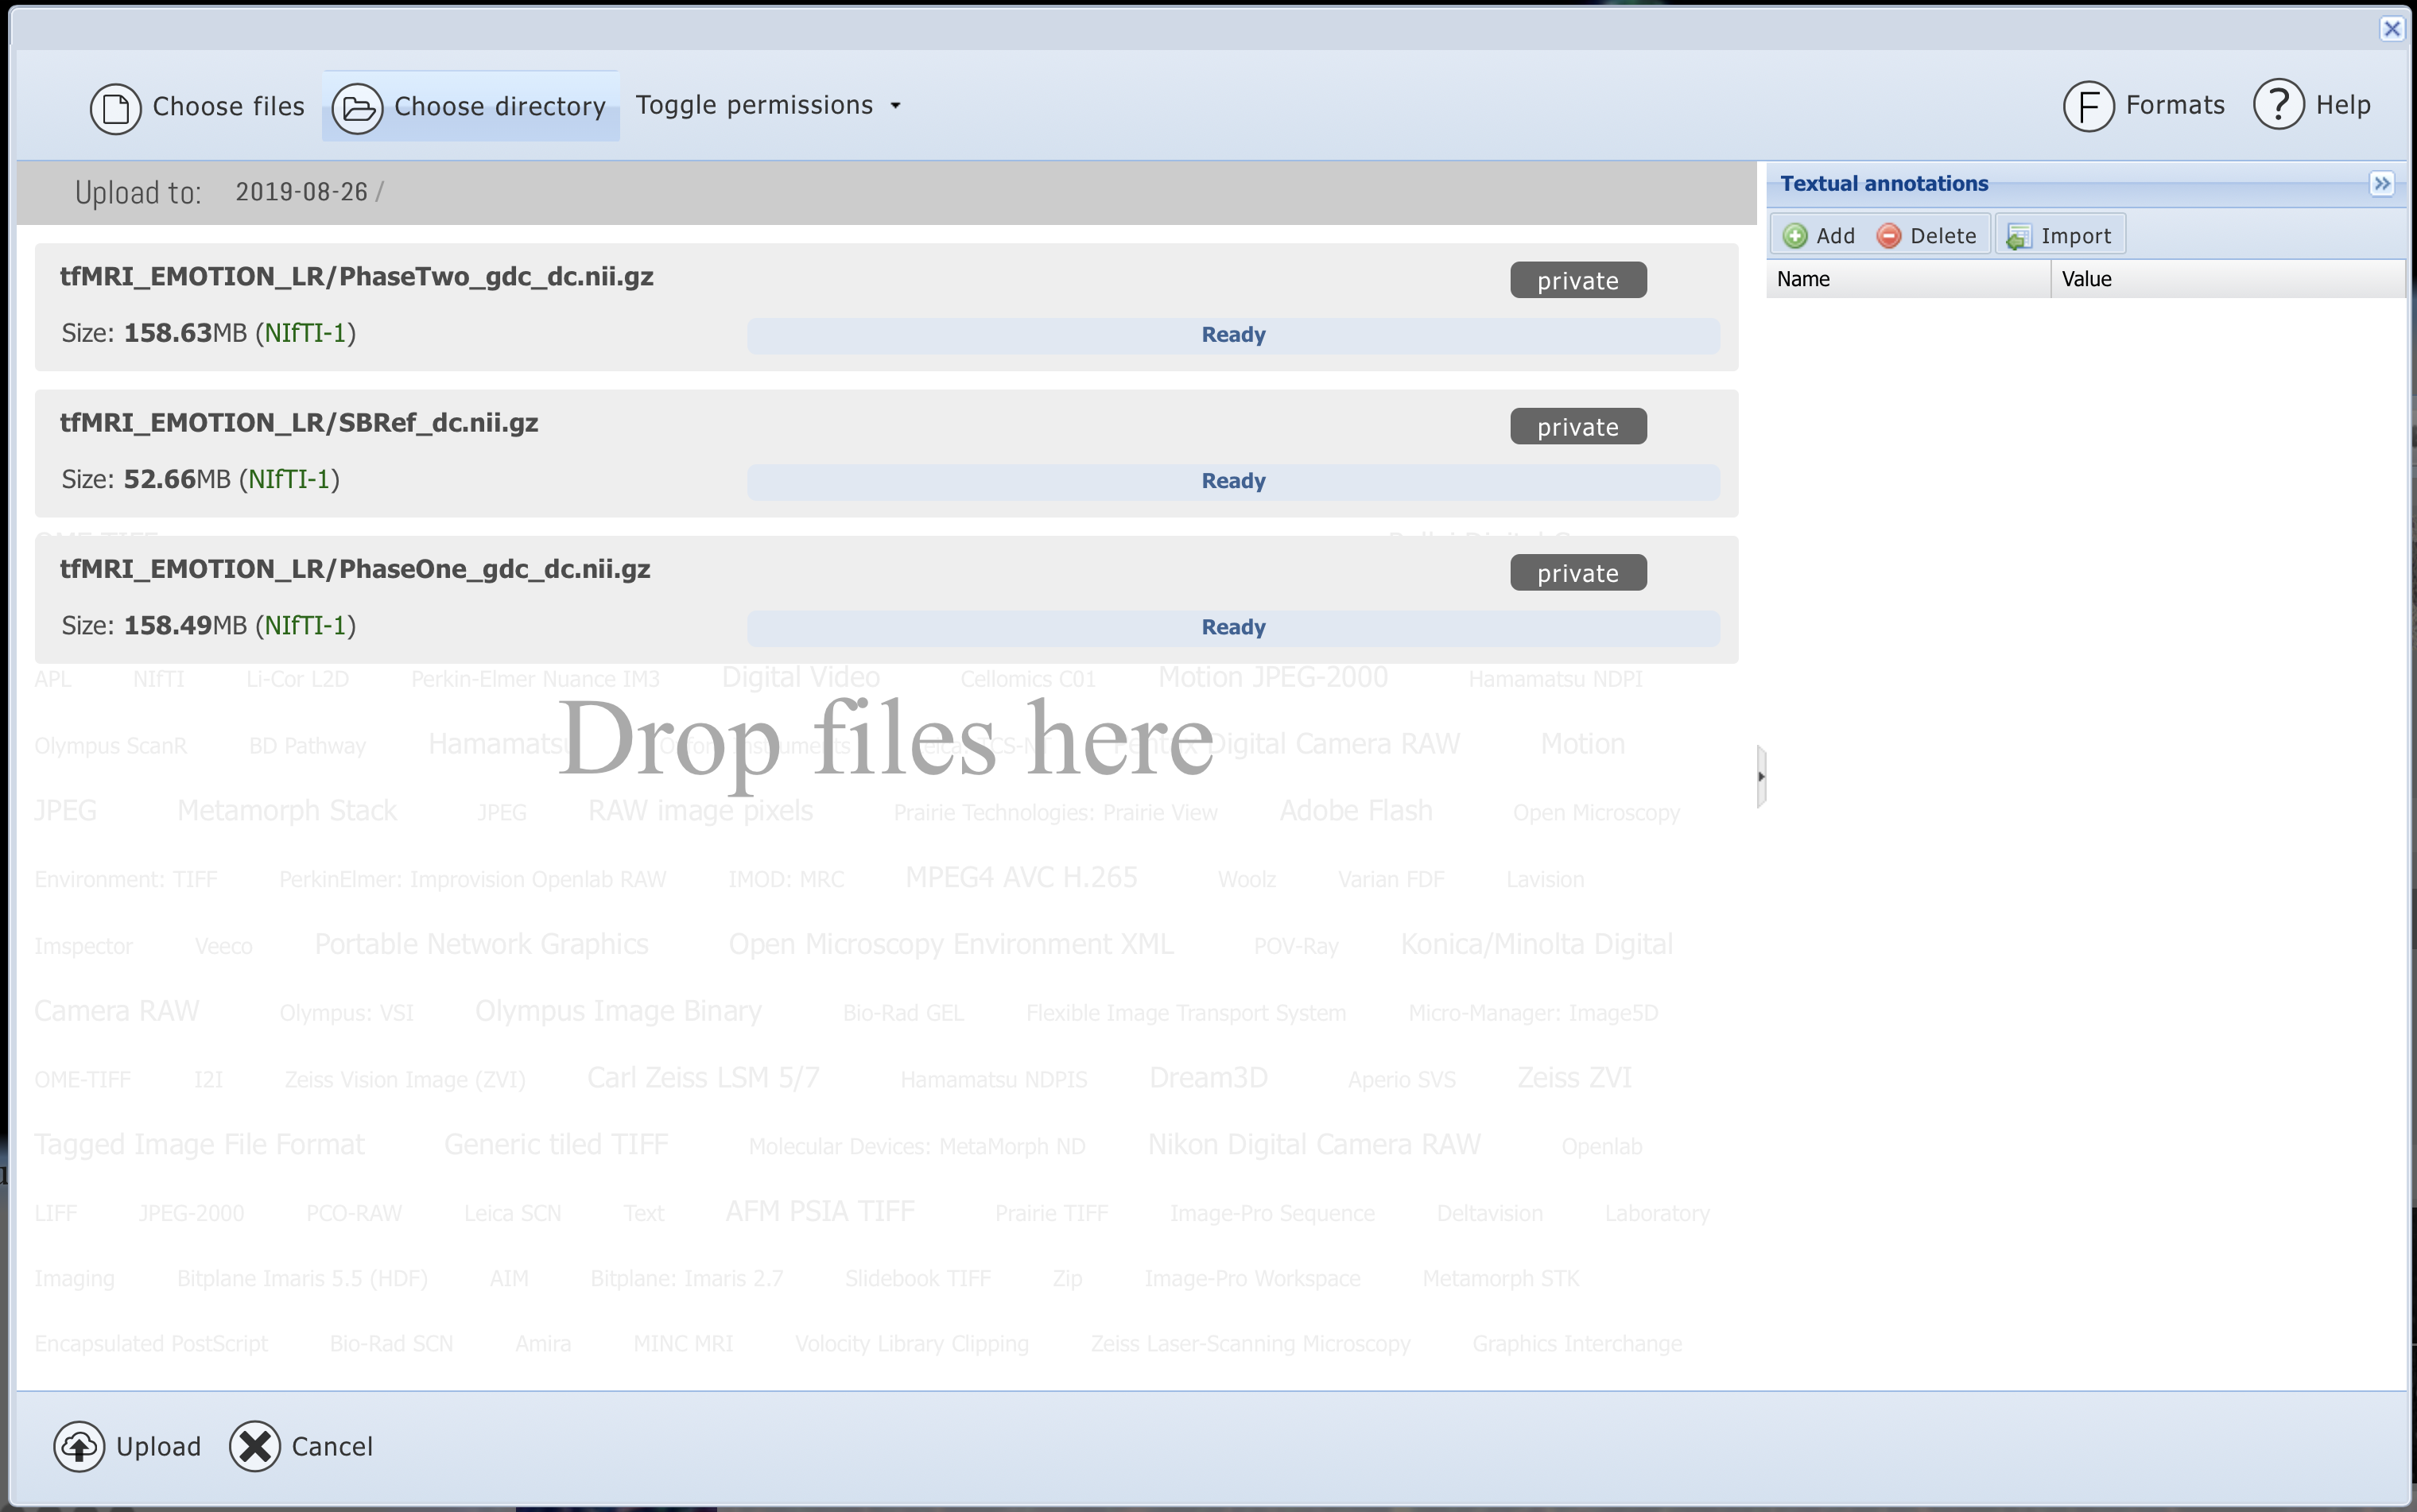
Uploading a Folder.
Once the upload is finished, there will be two options to create a new dataset or add to an existing dataset.
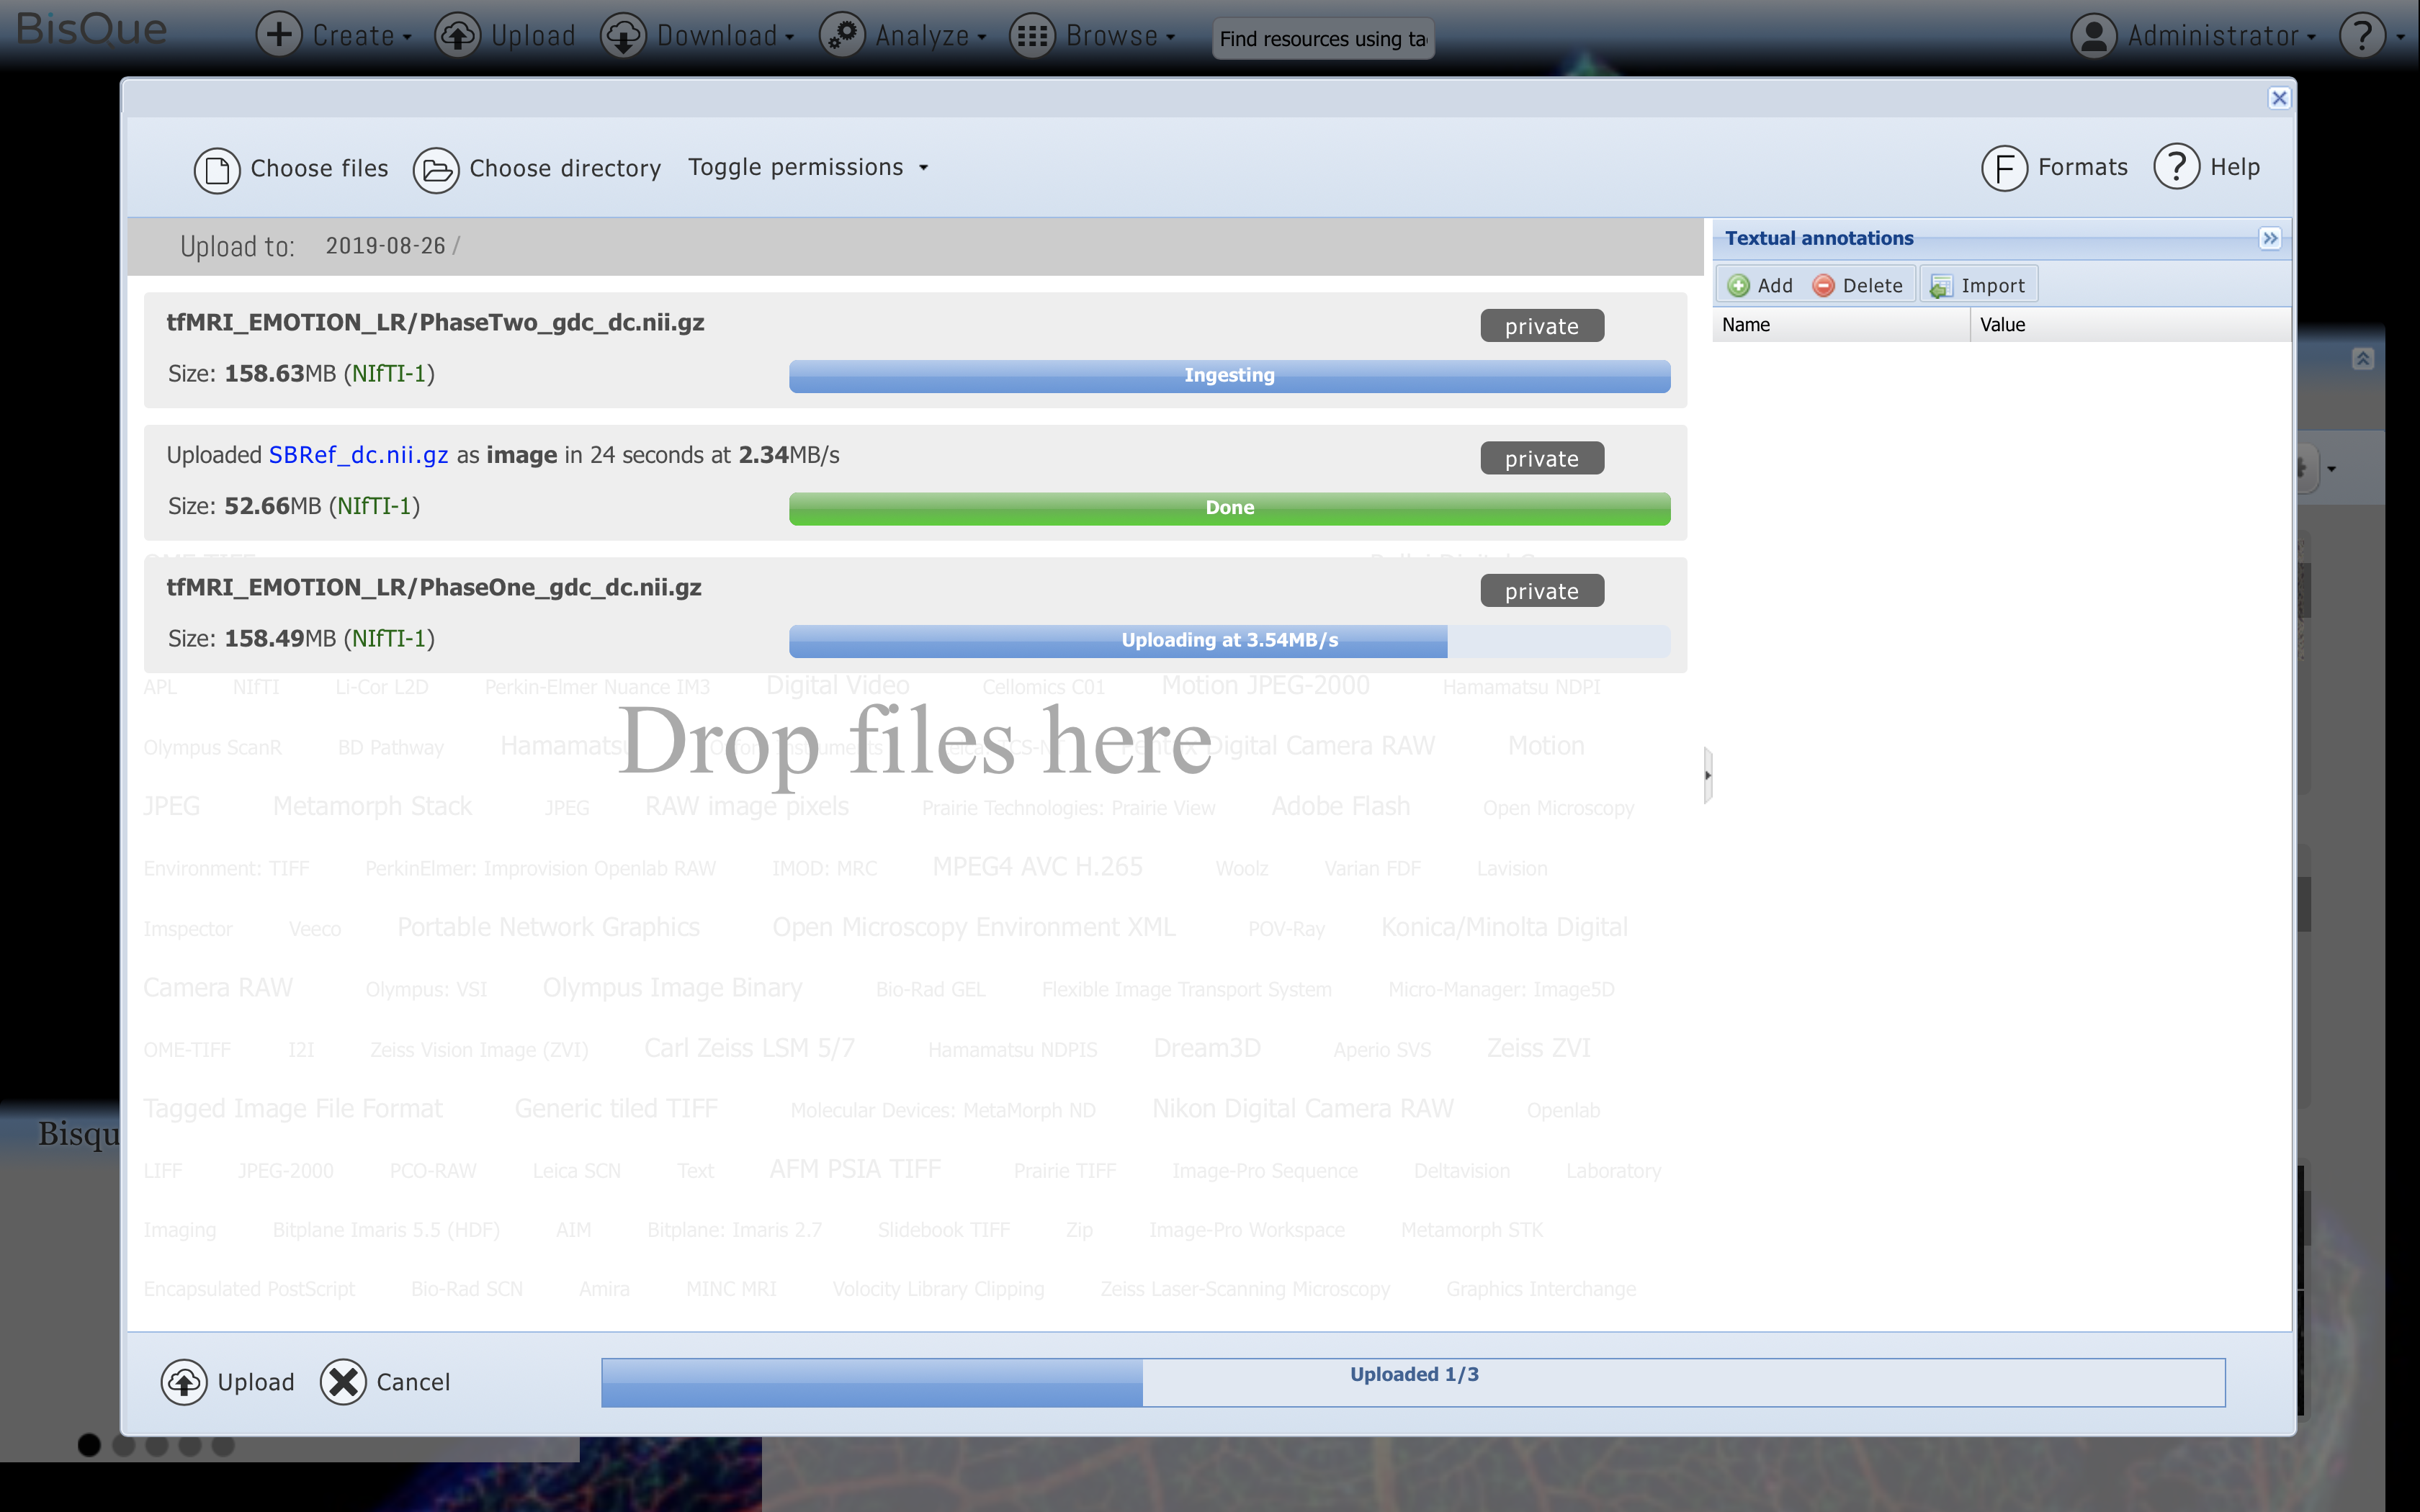
Progress of Uploading a Folder.
Add to New Dataset
If we choose to Add a New Dataset, this means we will create a new dataset with these three files we uploaded. We can always add new data to this dataset later.
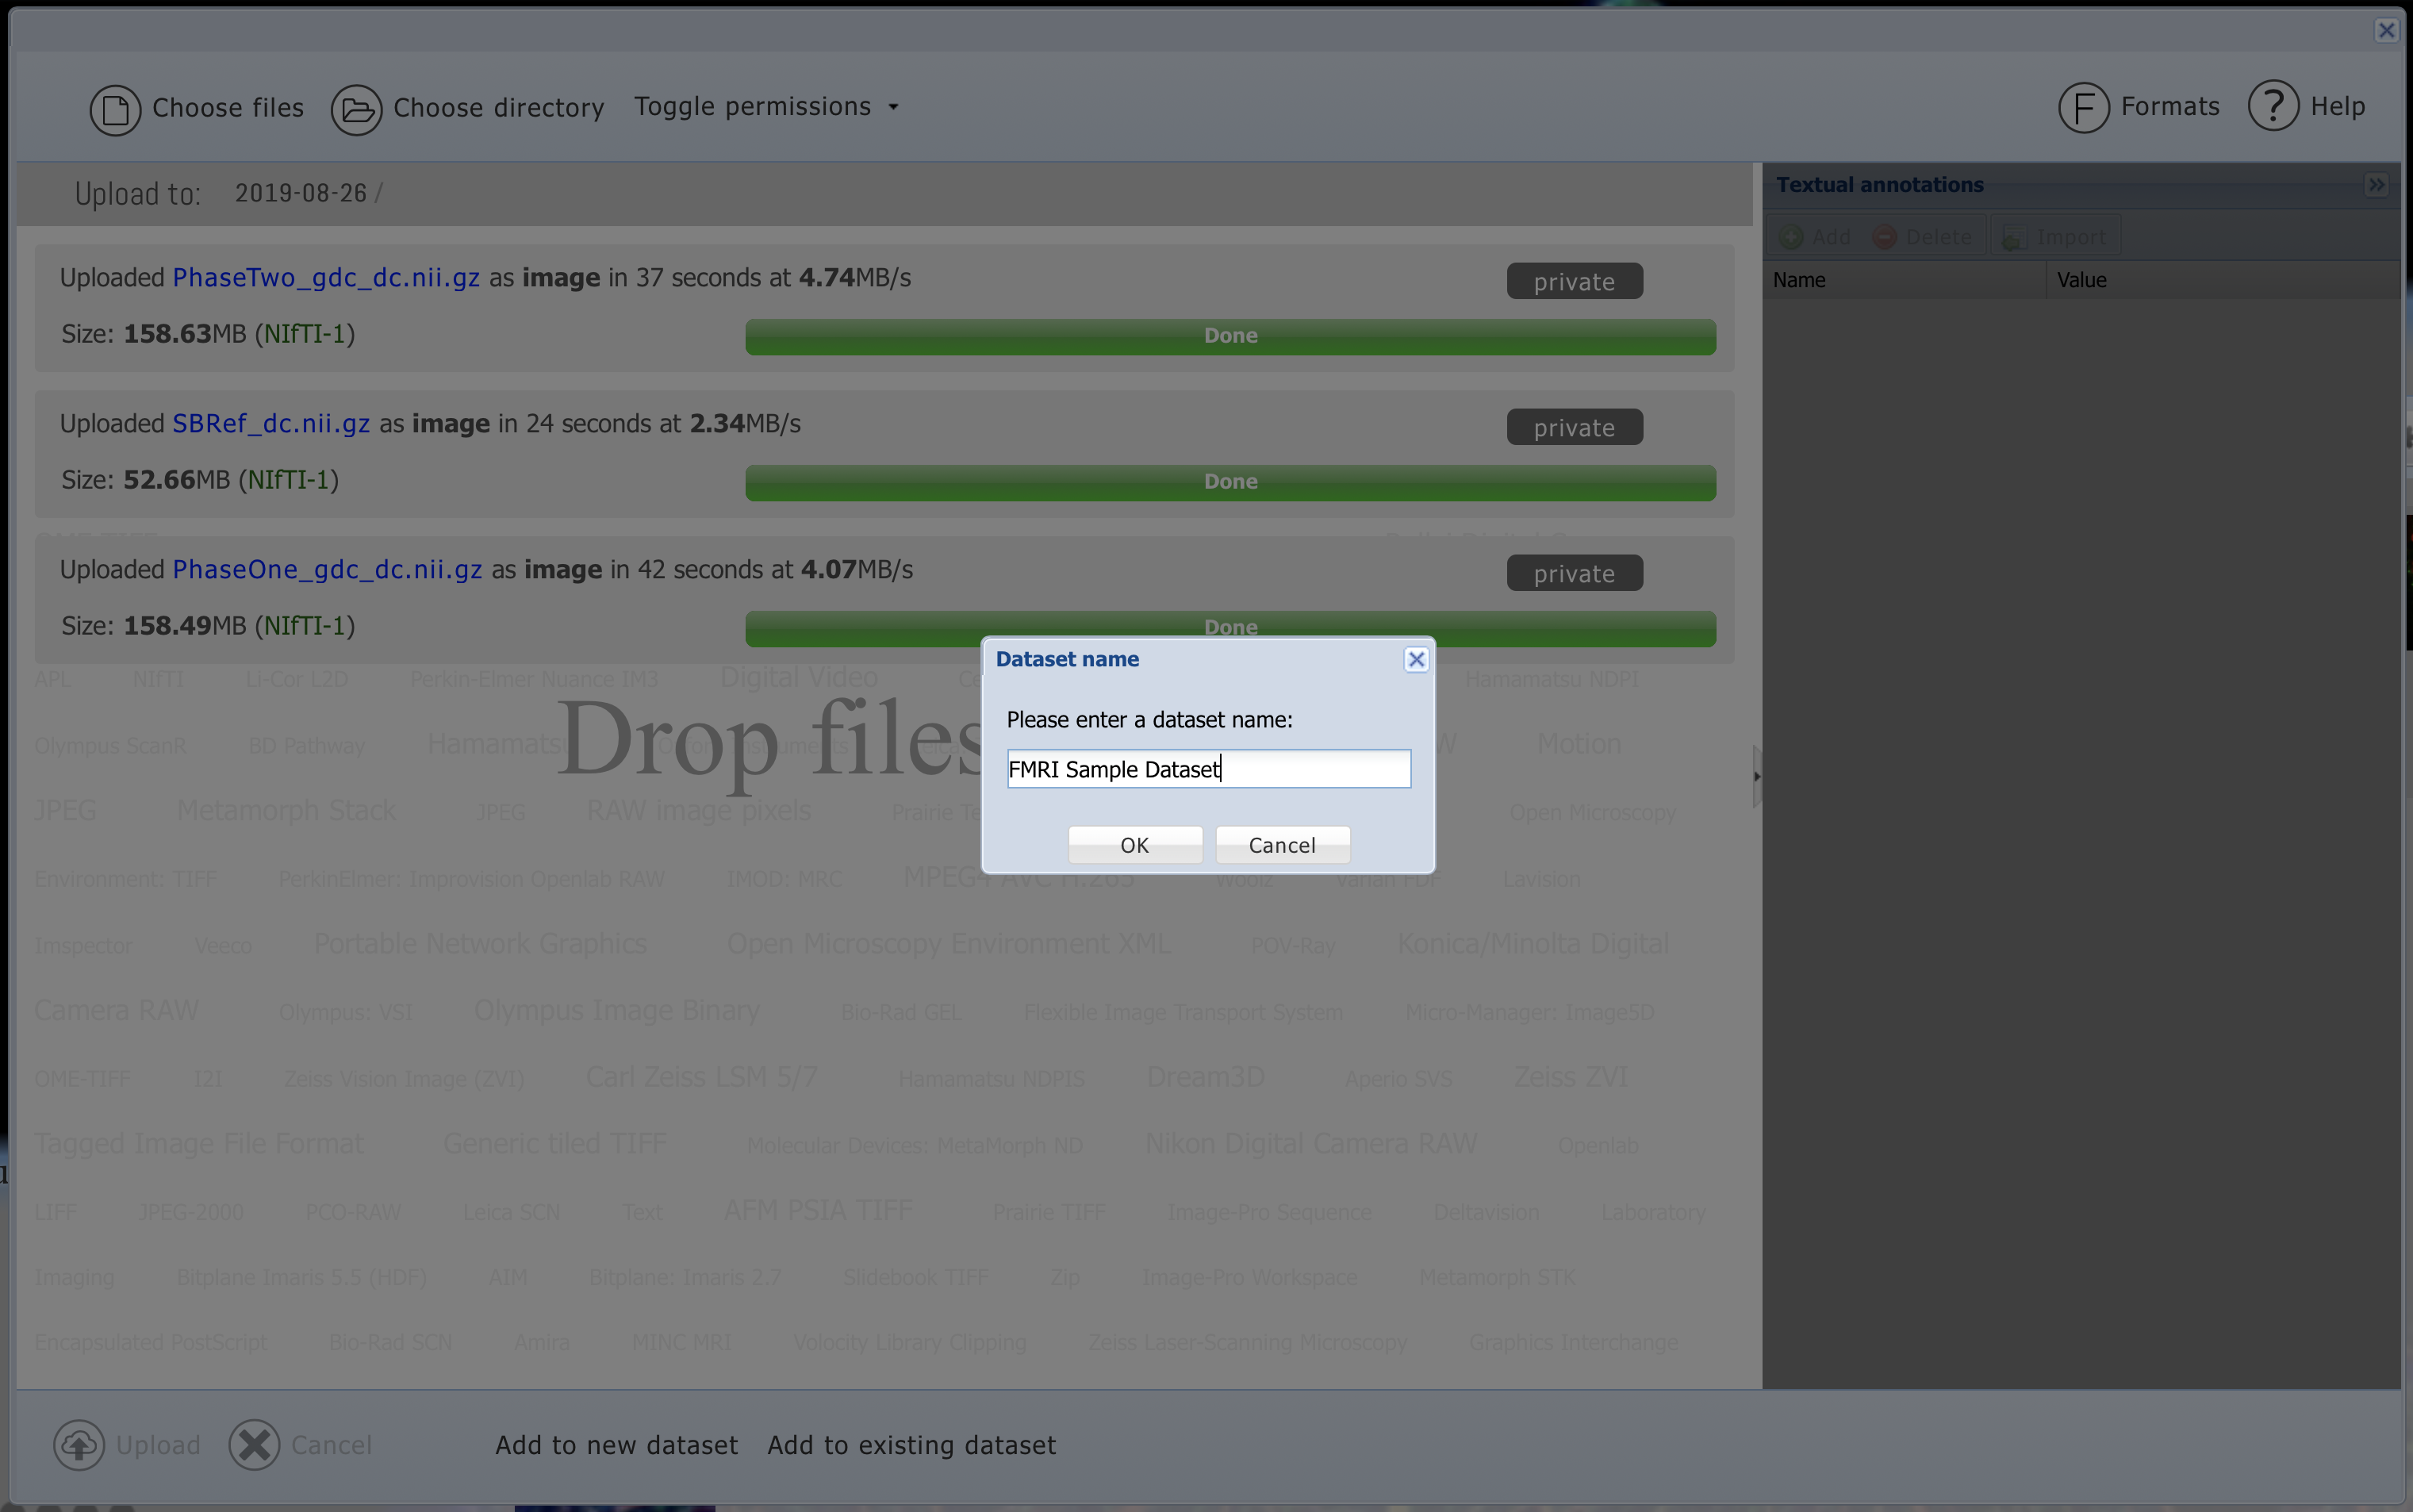
Creating a New Dataset.
Add to Existing Dataset
If we choose Add to Existing Dataset, this means we will add these three NIFTI files to an existing dataset on BisQue. We are prompted with all of the datasets we have access to on BisQue: Datasets we created and Datasets other users have created but have made public.
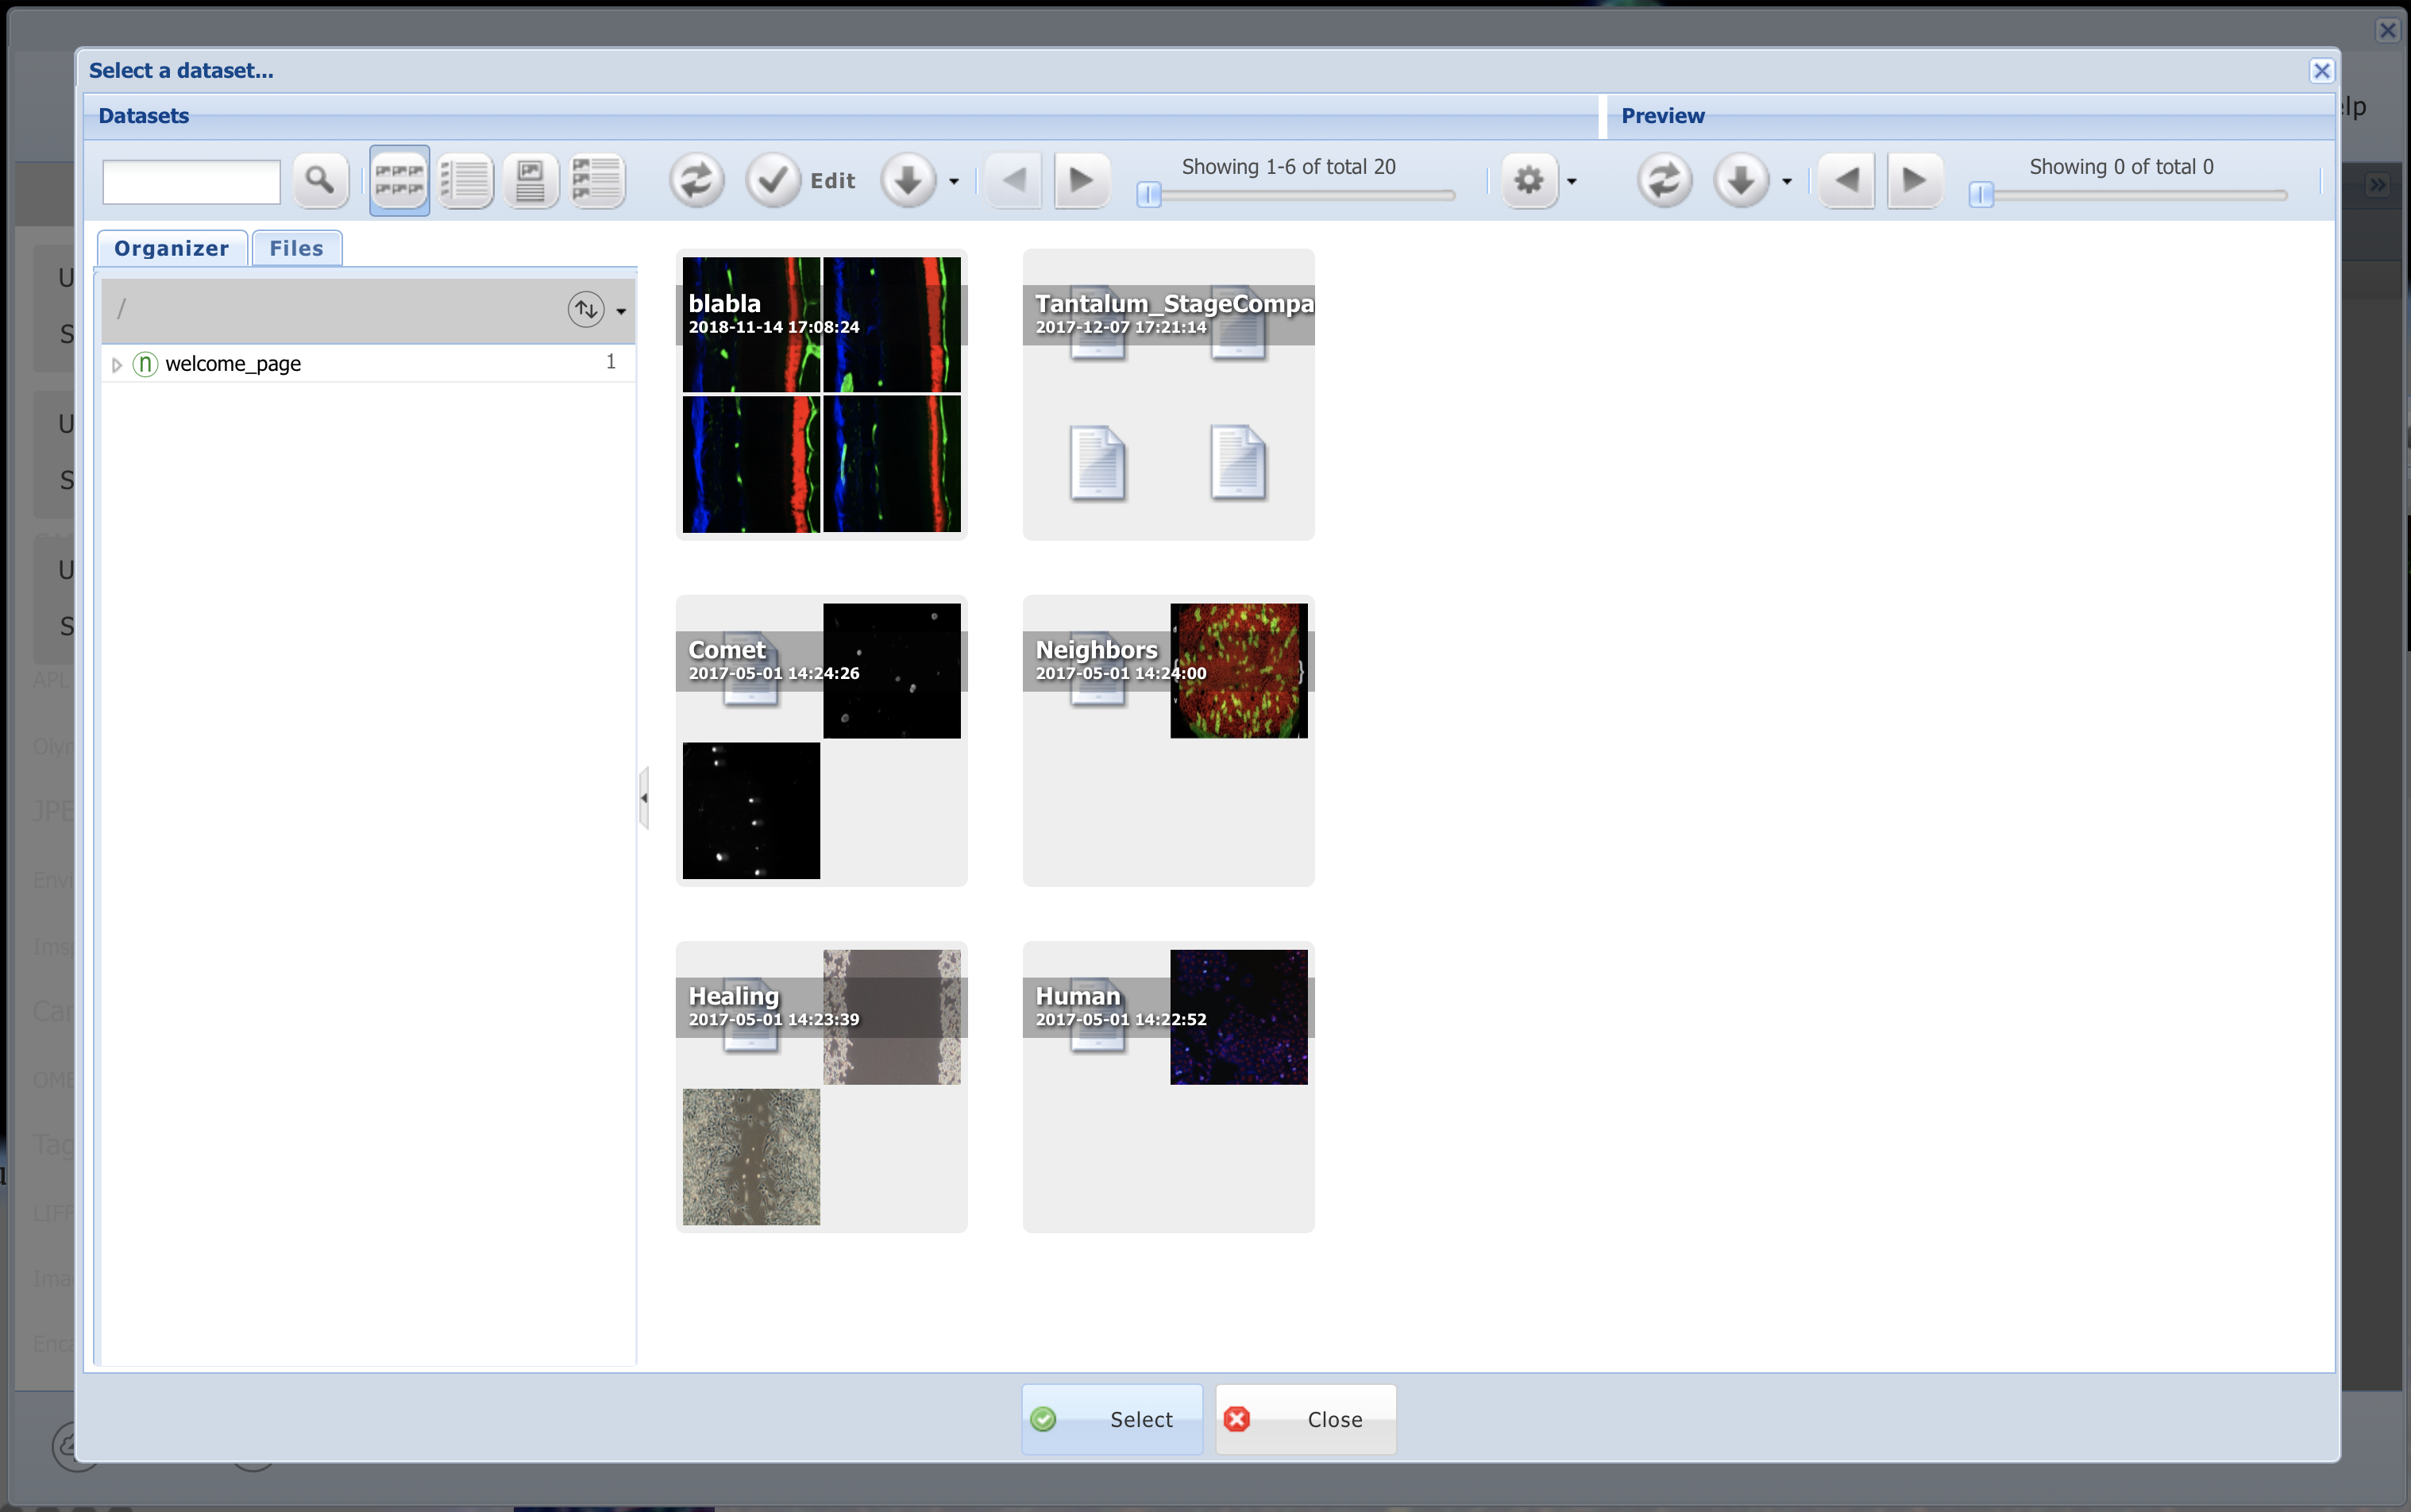
Adding to an Existing Dataset.
Step 4. Setting Permissions
Once we have uploaded the data, we can set permissions for who can access our data. By default, everything is uploaded as Private. If we want to make our data publically available, we can Toggle Permissions.
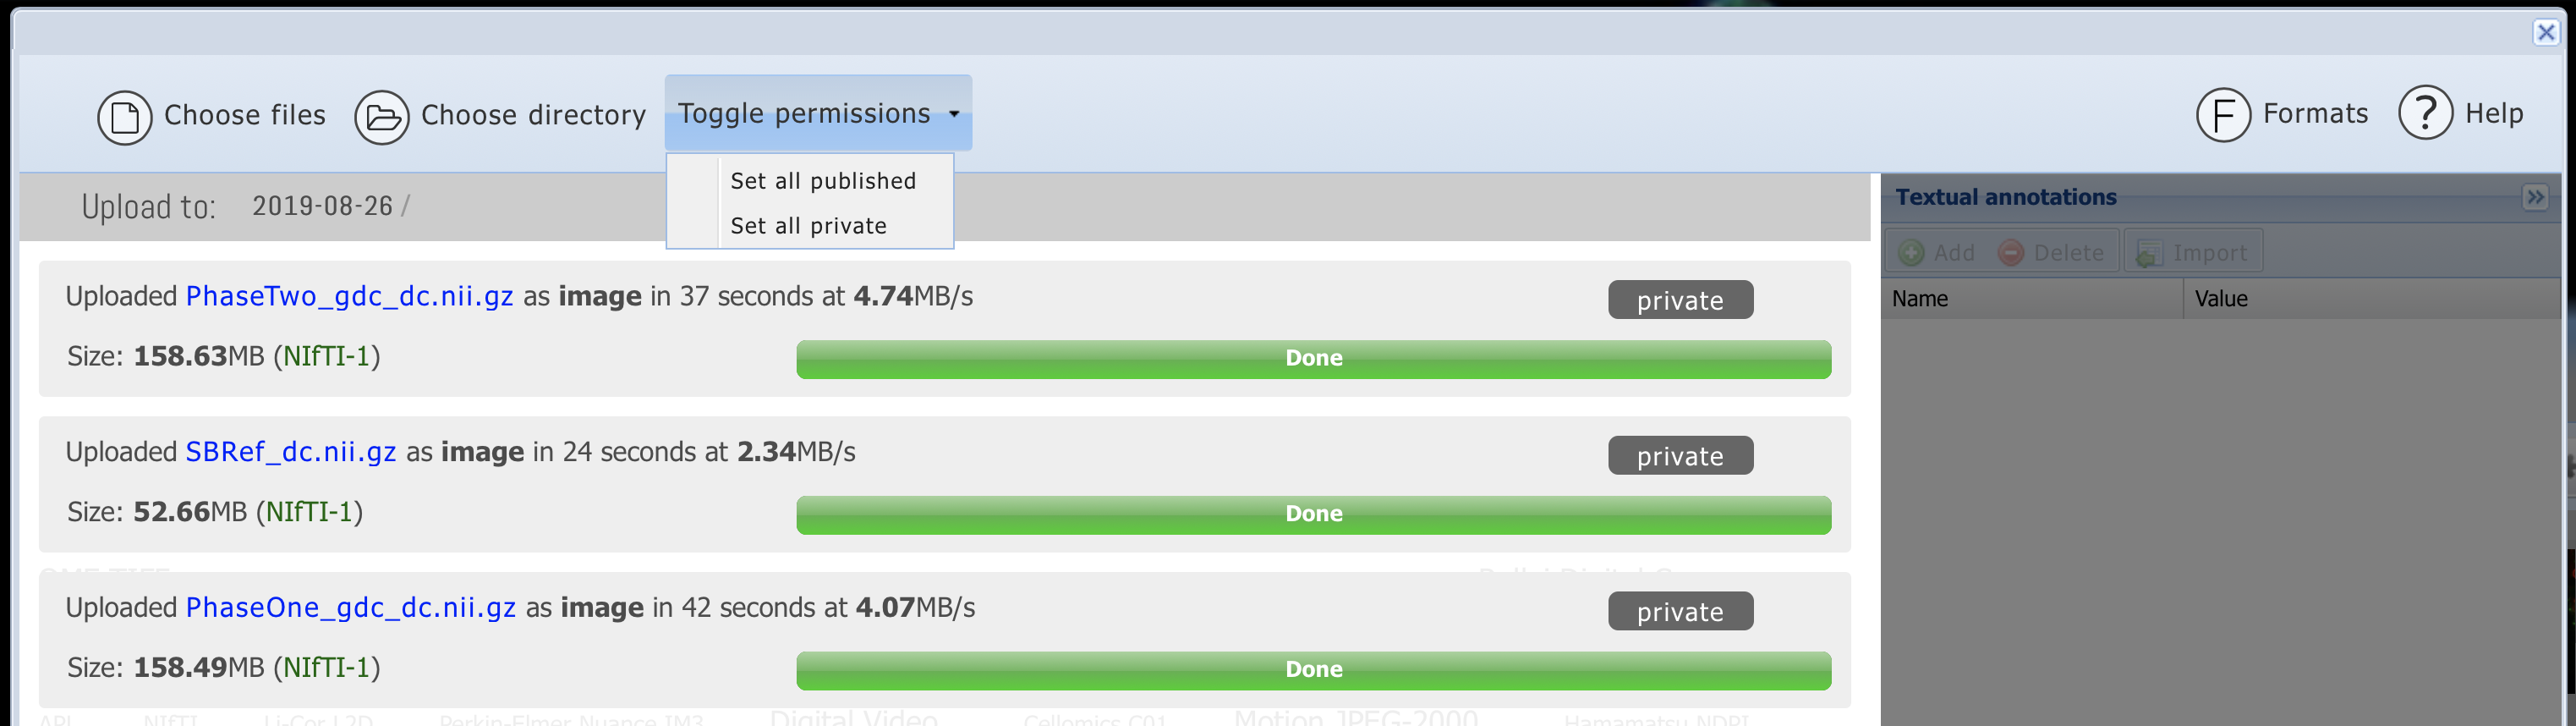
Toggle Permissions.